

Setting Up C Programming Environment
Introduction
Before we start writing and running C programs, we need to set up the required tools on our computer. Unlike some modern languages, C programs must be compiled before they can run. This means we need a compiler that convert our code into machine instructions that the computer can execute. In this guide, we will set up everything you need to start writing, compiling, and running C programs.
In this guide
- Tools required for C programming
- Install IDE (with GCC)
- Verify installation with a simple program
- Pro tip
- Common mistakes to avoid
Tools required for C program
The essential tools we need to start our journey with C programming are:
- Text editor / IDE -> where we write the code
- Compiler -> converts C code into machine code
- Terminal / command line -> used to run compilation commands
To make things easier, we can use an IDE (Integrated Development Environment) which combines all these tools in one place.
Installing IDE
An Integrated Development Environment (IDE) is a platform that helps to write, compile and run code. There are many popular IDEs available, such as: Code::Blocks, Visual Studio Code (VS Code).
Note: Web-based IDEs can also work, but they often have limited features.
In this article, we will learn how to install Code::Blocks and explore how to use the IDE. Code::Blocks is beginner friendly as it is simple and easy to use. The recommended option for most users is to download the binary release that includes the MinGW compiler.
Step 1: Download Code::Blocks
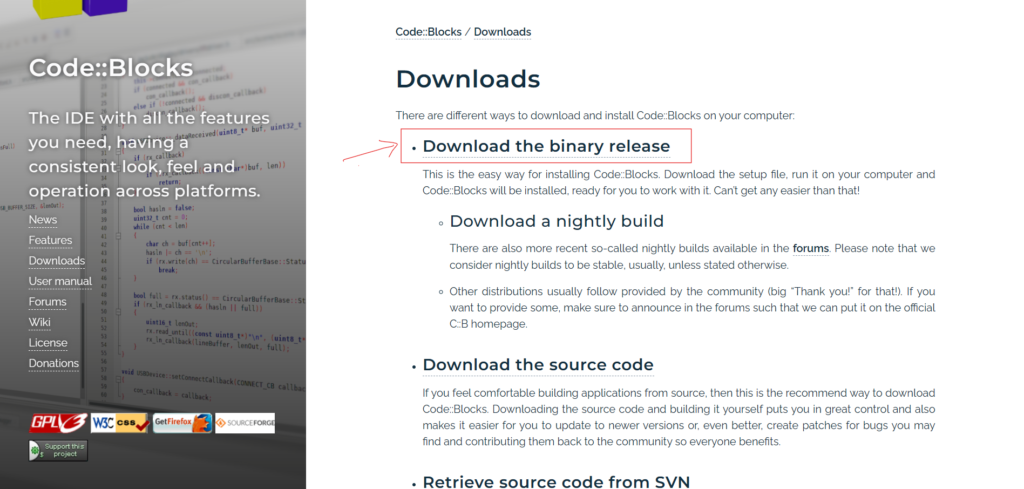
Go to the official website and download: https://www.codeblocks.org/downloads/ and navigate to “Download the binary release” as shown in the picture below.
Step 2: Choose the Operating System
Scroll down to the section for “Microsoft Windows” for windows or your specific OS.
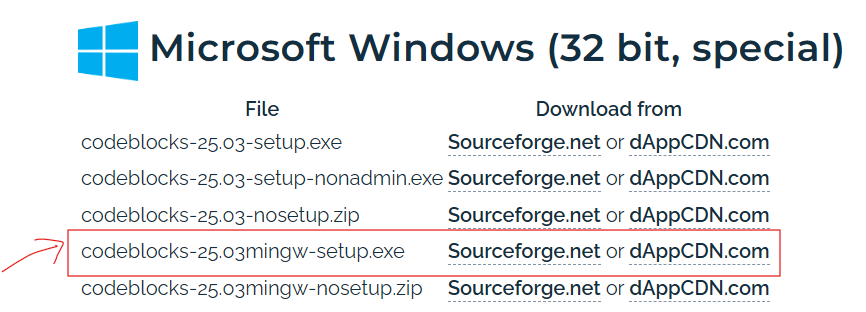
For windows it is highly recommended to download the file that includes the MinGW compiler. This is crucial as it includes the necessary GCC compiler to run C/C++ programs. If you have MinGW installed in your system you can download “codeblocks-25.03-setup.exe“.
Step 3: Start downloading
Click on any download link (for example, Sourceforge.net or dAppCDN.com). The download should start automatically.
Step 4: Install Code::Blocks
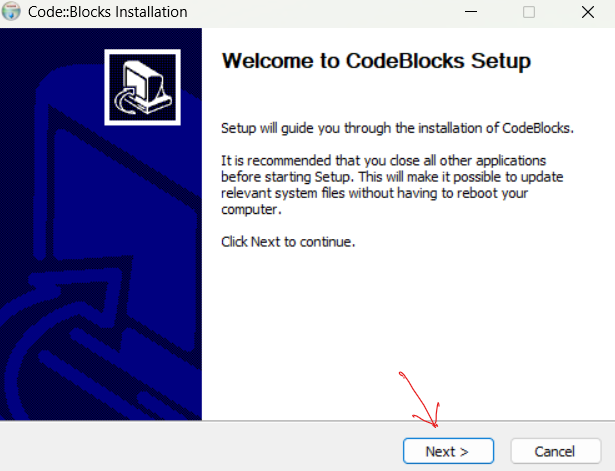
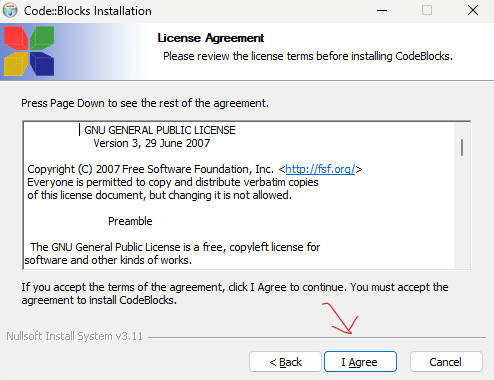
After the download is complete, locate the .exe file and double-click to start the installation process.
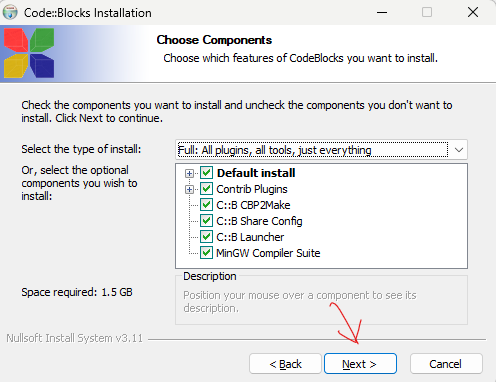
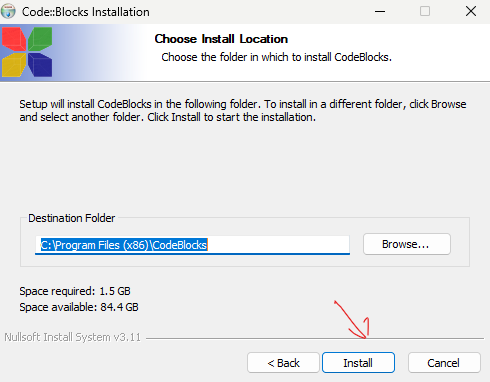
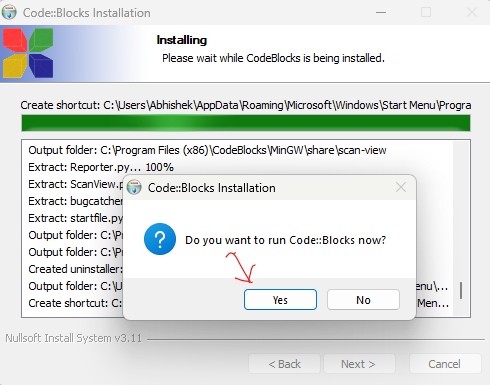
Initial Setup
When you launch the Code::Blocks after installation for the first time, it should automatically detect the installed compiler. Confirm this by clicking “OK” or “Set as default” is prompted. If not then choose GNU GCC which include MinGW compiler and set as default and click “OK”.
File association
If asked, select the option to associate Code::Blocks with C and C++ file types, which allows you to open these files directly with Code::Blocks in the future. After selecting click “OK”.
Getting started with Code::Blocks
After opening the Code::Blocks for the first time the screen will look like this,
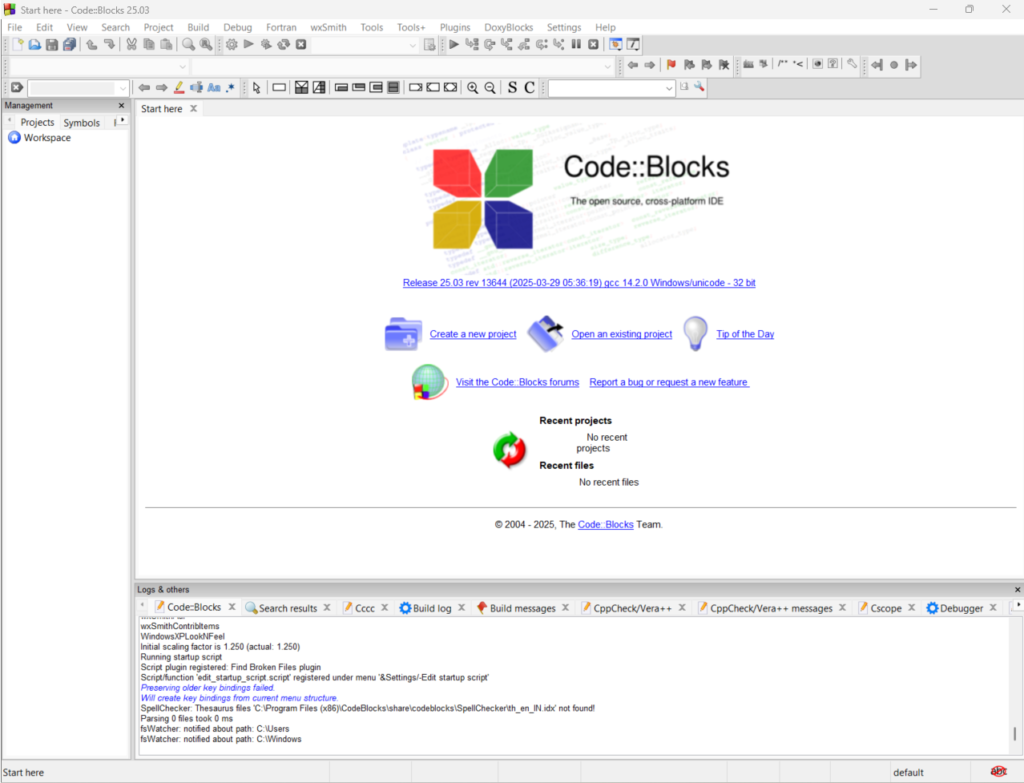
Click on “Create a new project” and in the “Files” section select the “C/C++ source”, and then click “Go”.

In the next steps click “Next” and select “C” and proceed then choose the path where you want to store your C program and give it a name.
The window will look like this and I saved the file as “myFirstProgram.c”
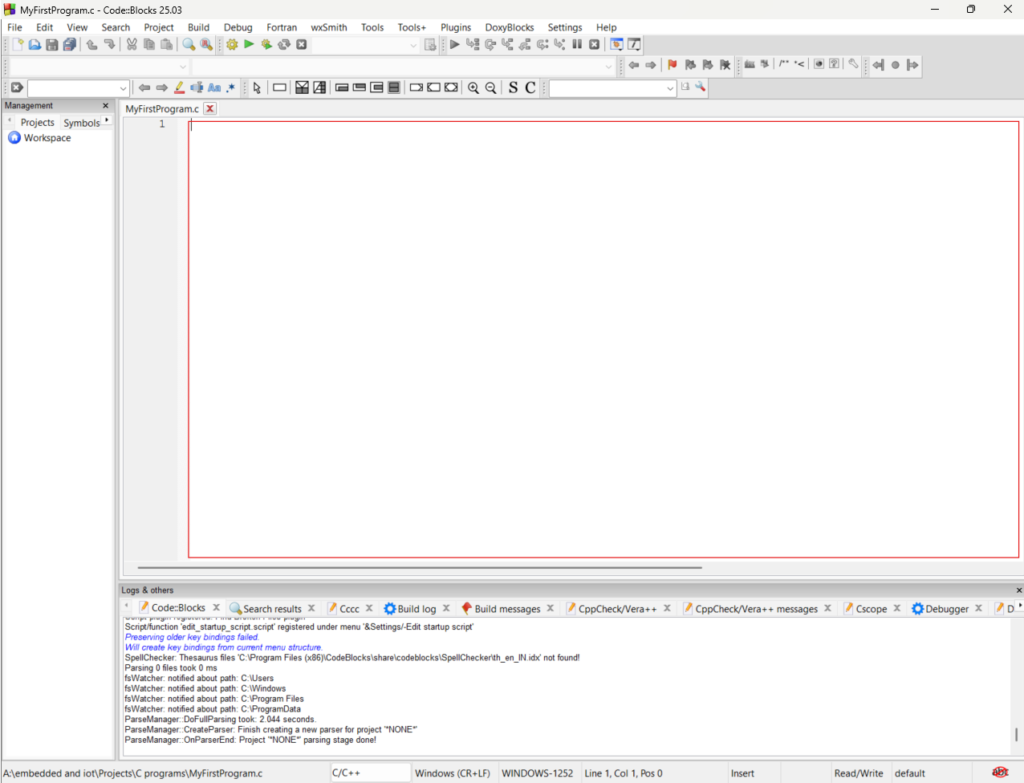
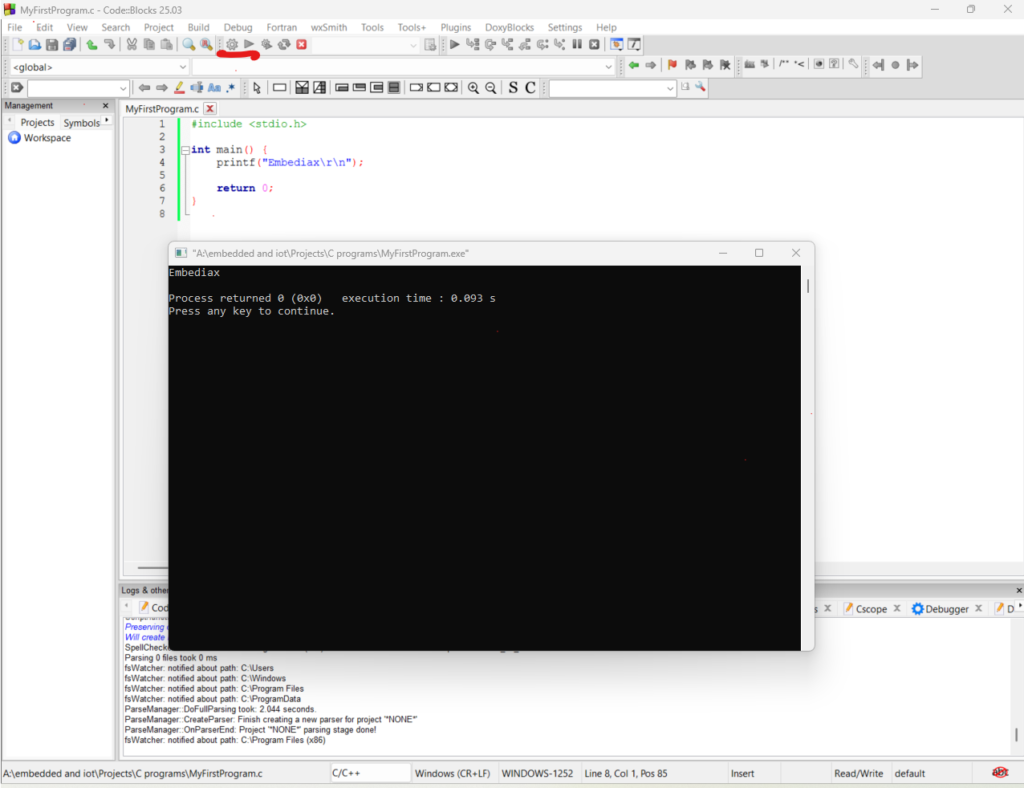
This is the editor where you can write your code. To run the program, first click Build, then click Run. you can also press F9, which performs both actions “build and run“. The another screen prompted with the output.
Pro tip
Most IDEs (like Code::Blocks) handle compilation and linking automatically when you click “Run”. However, understanding these steps will help you debug errors and work with compilers more effectively.
Common mistakes
One common mistake is downloading Code::Blocks without the MinGW compiler. If you do this, your program will not compile because no compiler is installed. Always make sure to download the version that includes MinGW (GCC compiler).
In this article, we installed C compiler and set up a complete development environment using Code::Blocks. You are now ready to write, compile, and run your own C programs.

[…] So, how does C code convert into the bits or machine-readable code? To convert this C code to machine code, we need a compiler. One of the most important compilers is the ‘GNU Compiler Collection’ or gcc; it is completely free. To download the compiler onto our computer, follow the steps in the article https://embediax.com/setting-up-c-programming-environment-gcc-ide-and-editors-explained/ […]